How to Store Fresh Bread Without Plastic
Keep your bread fresh — no plastic needed!

Short-Term Storage (1–3 days)
For bread you’ll eat soon:
Use:
- Cloth bread bags
- Cotton produce bags
- A clean tea towel or pillowcase
- Beeswax wraps
Wrap the bread tightly and store it cut-side down on a cutting board or in a bread box. This keeps the crust crisp and the inside soft.
🚫 Avoid:
- Sealing it in airtight containers or plastic (causes moisture buildup and mold)
Medium-Term Storage (3–7 days)
If it won’t be eaten in a few days:
Use:
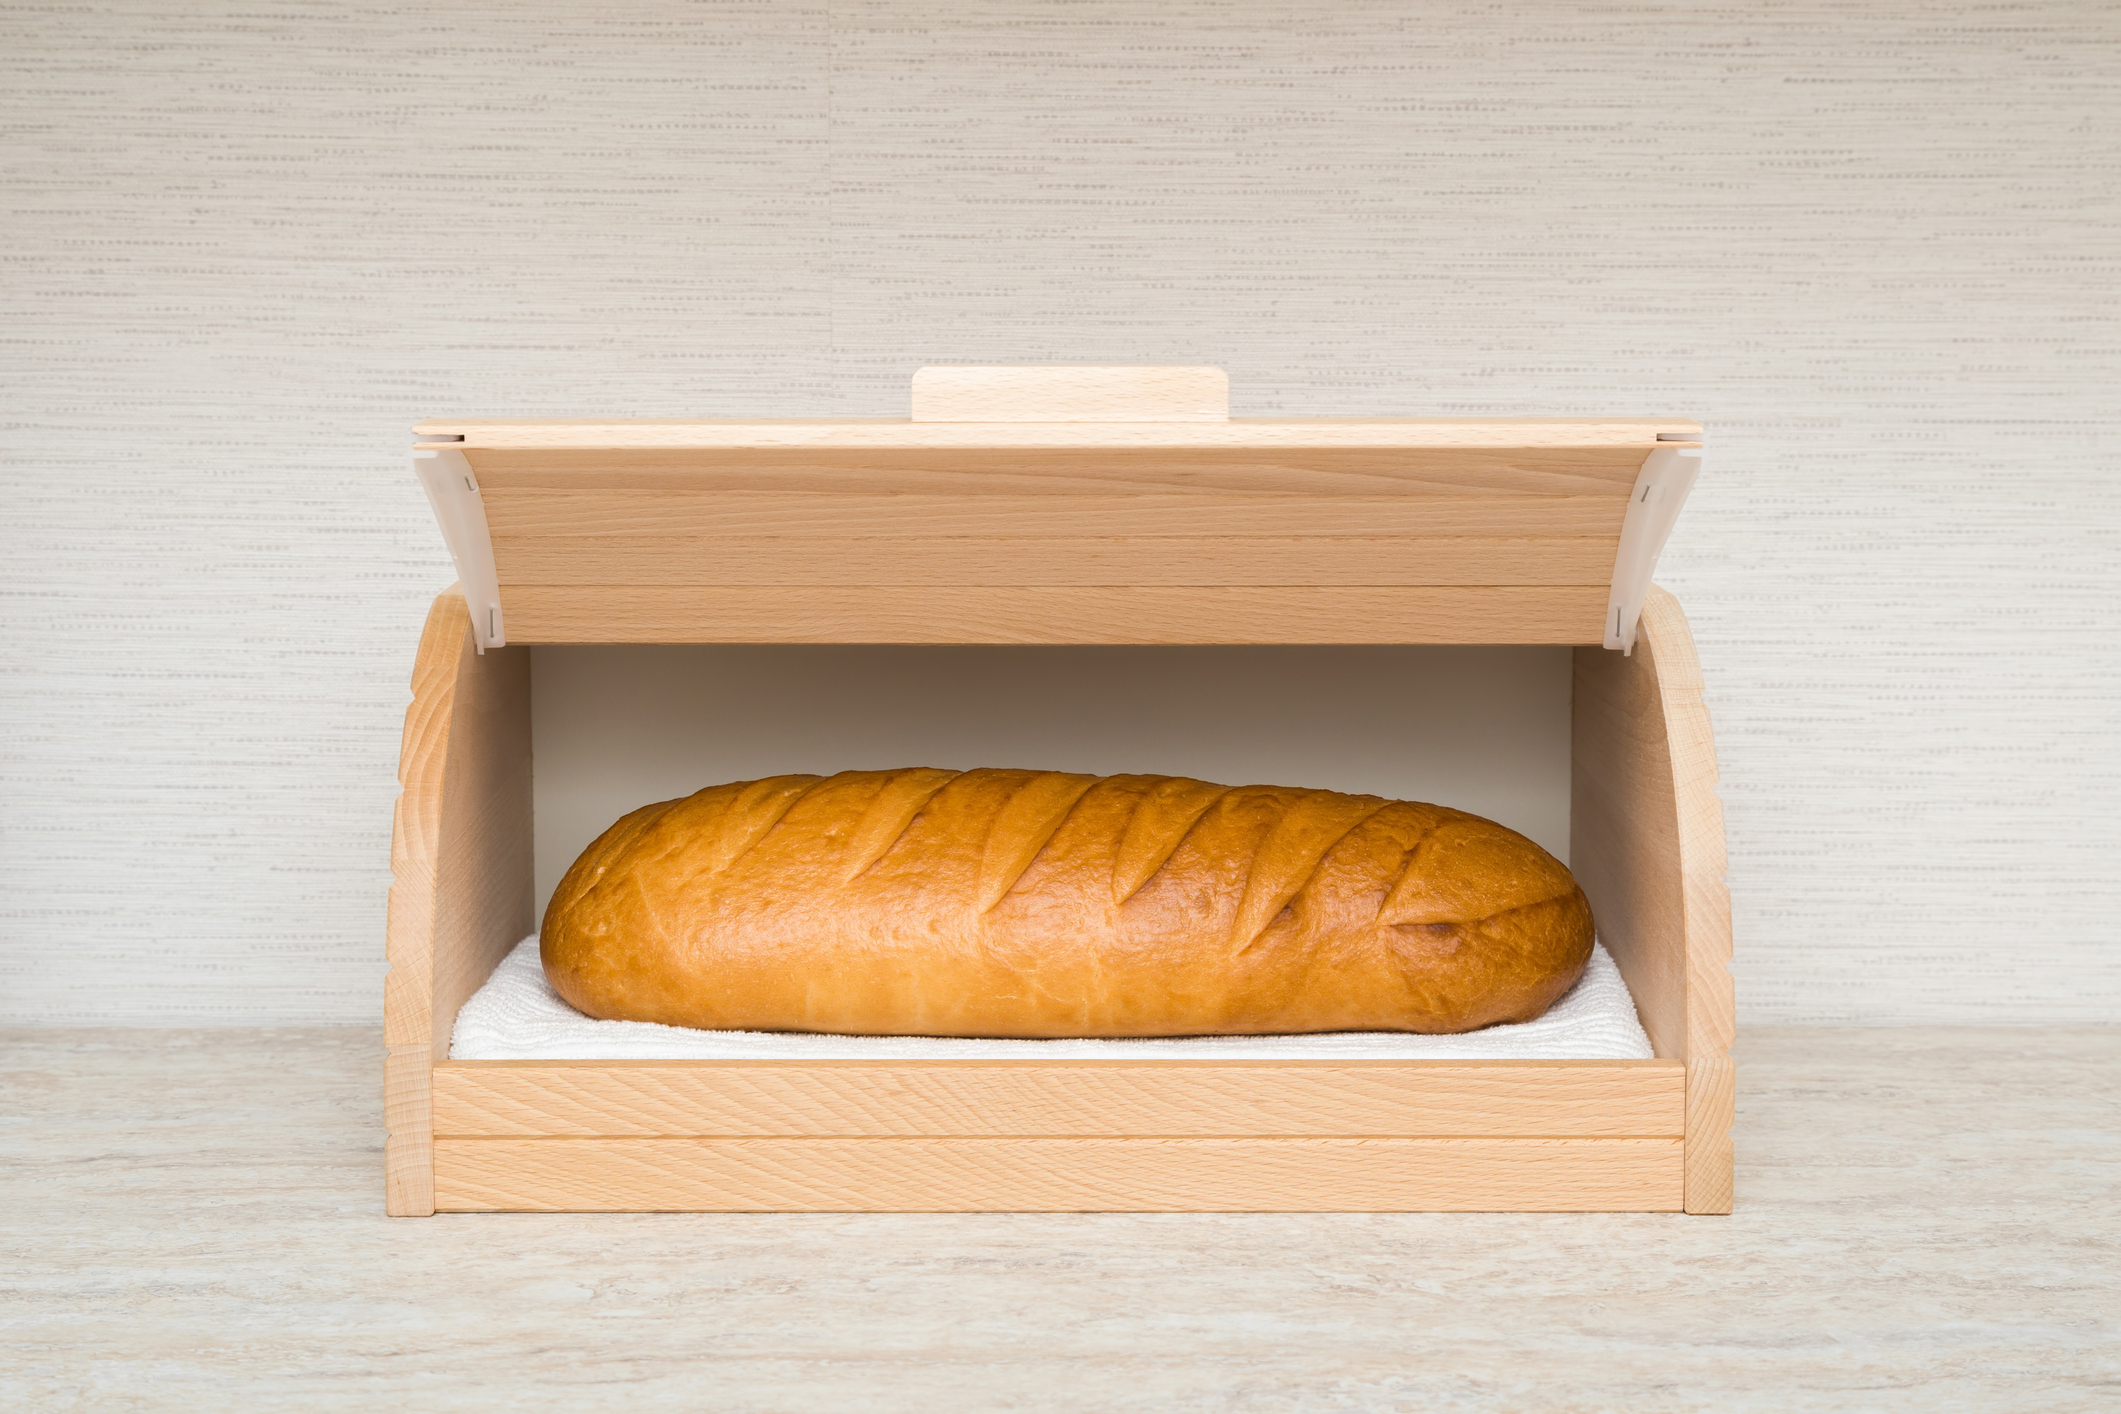
- A bread box (ideal for maintaining air circulation and humidity)
- A paper bag inside a tightly closed bread tin or cabinet
- Cloth-wrapped loaf in a ceramic or wooden bread keeper
Keep it in a cool, dry place — not in the fridge, which dries bread out quickly.
Long-Term Storage (1+ weeks)
To prevent waste, freeze what you can’t eat soon.
To Freeze Bread:
- Slice it first (if it’s a sandwich loaf)
- Wrap in:
- A cotton bag inside a freezer-safe container
- Aluminum foil, then into a cloth or reusable freezer bag
- Parchment paper, then place in a reusable silicone bag
- A cotton bag inside a freezer-safe container
- Store in the freezer for up to 3 months
To Reheat:
- Toast slices directly from frozen
- Warm a whole loaf in the oven at 350°F for 10–15 minutes
Quick Reference Table
| Storage Need | Best Method | Avoid |
| 1–3 days | Cloth bag, beeswax wrap | Plastic bags |
| 3–7 days | Bread box or paper in tin | Fridge |
| 1+ weeks | Freeze in cloth/wax paper & foil | Freezing in plastic wrap |
💡 Bonus Tip: Homemade bread tends to dry out faster than store-bought — store it wisely or freeze what you won’t eat right away.
DIY Bread Bag Pattern
Sew your own reusable cloth bread bag — zero-waste, washable, and beautiful!
✂️ Materials Needed:
- 100% cotton or linen fabric (breathable & natural)
– Size: about 20″ x 28″ (for a standard loaf or boule) - Matching thread
- Pins or clips
- Sewing machine (or hand-sewing needle)
- Scissors or rotary cutter
- Iron (optional)
- Twine, cotton cord, or ribbon (for drawstring version)
📐 Basic Bread Bag Dimensions:
- Finished size: approx. 12″ wide x 16″ tall
- Seam allowance: ½ inch
🧵 Sewing Instructions (Envelope-Style Bag):
1. Cut Your Fabric
Cut one rectangle: 20″ wide x 28″ tall
(This allows for seams and a top fold)
2. Hem the Top
Fold the top (short side) down ½ inch, then again another ½ inch. Iron flat.
Sew along the folded edge to make a clean top hem.
3. Fold and Sew the Sides
Fold the fabric in half right sides together so it’s now 12″ wide x 16″ tall.
Sew along the side and bottom edges using a ½-inch seam.
Use a zigzag stitch or pinking shears to finish the raw edges (optional, but reduces fraying).
4. Turn Right Side Out
Flip the bag right side out. Press the seams flat with an iron if desired.

🎀 Optional: Drawstring Version
To Add a Drawstring:
- Before sewing the side seam, fold the top down 1 inch and sew around to create a drawstring channel.
- Leave a 1-inch gap on one side (unsewn) for threading.
- After sewing, thread through a cotton cord or ribbon using a safety pin.
- Knot the ends.
Care Instructions:
- Machine wash cold or warm
- Air dry or tumble dry low
- Avoid fabric softeners (they can reduce breathability)
Pro Tips:
- Linen fabric keeps bread crusty and lets it breathe
- Make multiple bags for different bread types (label with embroidery or tags!)
- Works great for produce, bulk items, or pastries too
